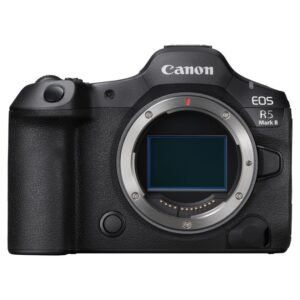
 The Canon EOS R5 Mark II takes the flagship mirrorless experience to the next level, building on the success of its predecessor with notable upgrades that cater to both professionals and advanced enthusiasts.
Key Specs:
- Sensor: 45 MP full-frame CMOS
- Processor: Dual DIGIC X
- ISO Range: 100-51,200 (expandable to 102,400)
- Video: 8K/60p RAW, 6K ProRes, 4K/120p
- Autofocus: Dual Pixel CMOS AF II with AI-driven subject tracking
- IBIS: 8 stops of in-body image stabilization
- Connectivity: Wi-Fi 6E, Bluetooth 5.2
- Battery Life: Approx. 570 shots (LCD)
- Storage: Dual card slots (CFexpress & SD UHS-II)
What It’s Good For: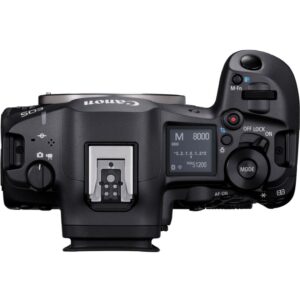
- High-Resolution Still Photography: The 45 MP sensor delivers exceptional detail, making it ideal for genres like landscape photography, where capturing intricate textures and expansive scenes is critical. It’s equally suited for portrait photography, offering outstanding color depth and natural skin tones. The high resolution also benefits commercial and studio photographers who require large prints or heavy cropping.
- Wildlife and Sports: The advanced AI-driven autofocus, capable of tracking humans, animals, and vehicles, paired with a fast burst rate, ensures sharp images even in fast-paced scenarios. Wildlife photographers will appreciate the camera’s ability to track moving subjects like birds in flight with remarkable precision.
- Professional-Grade Video: With internal 8K/60p RAW and 6K ProRes, it’s a powerhouse for videographers needing cinematic quality. The 4K/120p option is perfect for slow-motion effects, making it a versatile choice for content creators.
- Low-Light Scenarios: Thanks to its wide ISO range and in-body stabilization, the R5 Mark II performs admirably in low-light environments, making it suitable for event photography, astrophotography, and handheld shooting in dimly lit conditions.
- Hybrid Shooters: For those who need a single camera capable of excelling in both stills and video, the R5 Mark II provides a seamless blend of features that make switching between modes effortless.
What It’s Not So Good For:
- Overheating in Extended 8K Recording: While improved, overheating can still occur during prolonged high-resolution video recording.
- Battery Life: Moderate performance means extra batteries are a must for extended shoots.
- Price: At the premium end of the spectrum, it may not be justifiable for casual users or those who don’t need its advanced features.
- File Sizes: High-resolution photos and 8K video consume a significant amount of storage, requiring investment in fast, high-capacity cards.
Comparison with the EOS R5:
For potential buyers considering an upgrade, the Canon EOS R5 Mark II offers several key improvements over its predecessor:
- Processor: The R5 Mark II features a Dual DIGIC X processor, enhancing overall performance, including faster image processing and improved noise reduction at higher ISOs.
- Video Capabilities: While the original R5 maxed out at 8K/30p, the Mark II introduces 8K/60p RAW and 6K ProRes, giving videographers more options for high-quality recording.
- Autofocus: The AI-driven autofocus system in the Mark II is more advanced, offering improved subject recognition and tracking, especially for dynamic scenes.
- Connectivity: Wi-Fi 6E and Bluetooth 5.2 replace the older connectivity options, ensuring faster and more stable wireless transfers.
- Stabilization: While the original R5 had excellent IBIS, the Mark II pushes stabilization to 8 stops, making handheld shooting even more reliable.
- Thermal Management: Canon has addressed overheating concerns with better thermal management, allowing for longer recording times in high-resolution video modes.
Verdict:
The Canon EOS R5 Mark II is a versatile, high-performance tool for professionals seeking cutting-edge features in both photography and videography. Its strengths make it particularly suited for landscape, portrait, wildlife, and hybrid shooting scenarios. While it comes with a hefty price tag and minor limitations in certain use cases, it’s an excellent choice for those who demand the best from their gear.